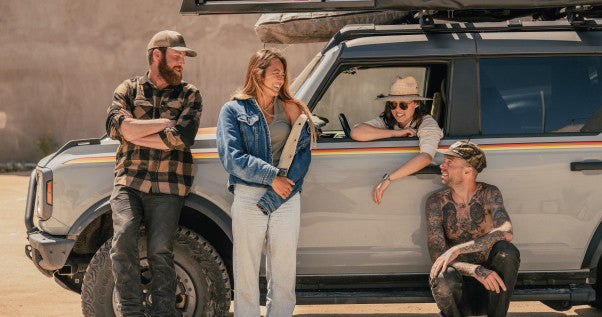
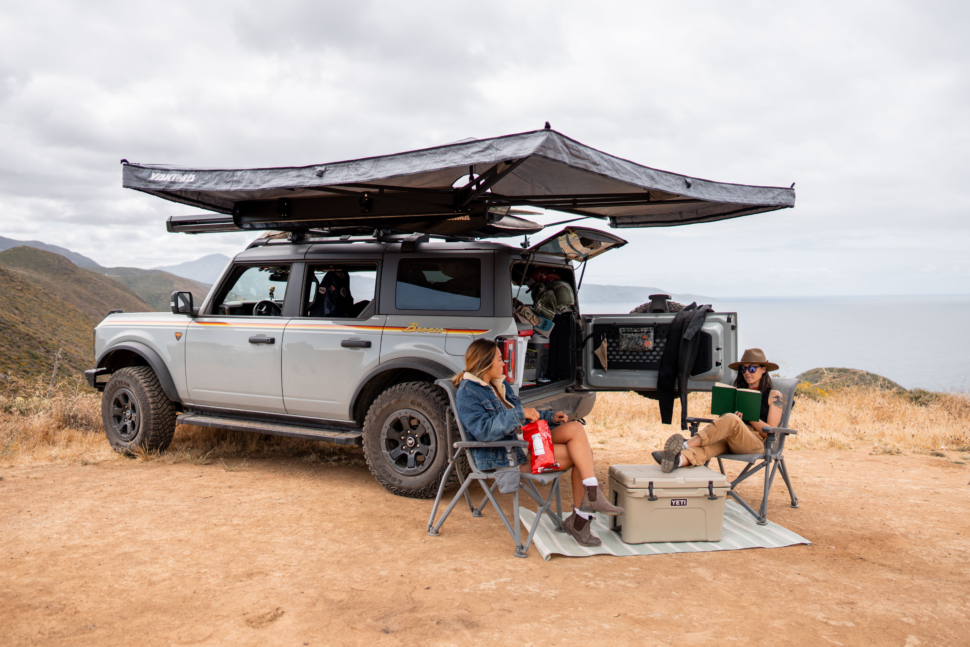
Take More Friends. Bring Back More Stories.

Rack Maintenance Tips and Tricks

Year-Round Vs. On n’ Off – There’s nothing wrong with keeping your gear mounts on your vehicle all year round. But, if you don’t plan on using them for a while, take them off. This prevents any unnecessary build-up of road grime and bugs. Whether you keep them on year-round or remove them after use, here are some helpful tips to increase their life span, and ease of use.

Keep them clean

DON’T GO THROUGH THE CAR WASH – If there’s one thing to take away from all these tips, it’s keeping your racks and gear mounts clean.

  • Brush off any loose dirt and road grime…and bugs.
  • Hand wash with an environmentally friendly soap.
  • Never go through a car wash with gear mounts installed.
  • If you don’t need them during the winter/summer, take them off and store them. Road salt can be damaging to a vehicle, let alone your mounts.

Roof racks and mounts

When in doubt, shake it out – We call this The Shake Test. It’s time to let some of that built up aggression out. A shake test is always a good measure in confirming your roof racks attachment. Grab ahold of it and give it a shake! Do this once a month, if things are moving follow these steps below.

  • Once a month give your rack and mounts a hardware check-up. Ensure all of your bolts and clamps are tight and ready to go!
  • Once a year you should remove your roof rack and mounts and re-install them. Long-distance travel and windy conditions could possibly set your racks off-kilter.
  • Periodically lube locks, clamps, and hardware as necessary. If it’s plastic, use a silicone-based lube. If it’s metal, lithium grease is best. 
  • Check locks to ensure that they are in fact locked. 
  • Check for any wear and tear on parts. If something seems like it could use an update you can replace it! Explore Replacement Partsor Contact Support

Gear Mounts and accessories

Tents and Awnings –Fabrics and moisture in short periods together do well, but long term, not so much. Keeping up on your products that aren’t just metal and plastic may require a bit more love. 

Hitch Racks – If you plan on keeping your rack on year-round, great! But don’t forget, some seasons get especially dirty and road grim can build up in the pivoting points of the racks. StageTwo tilt feature and EXO SwingBase are great examples of hitch products with movement.

  • If you’re not using it, take it off and store it in a dry location.
  • Periodically wash the whole rack with warm water and environmentally friendly soap.
  • Have a squeaky pivoting point? Apply a small amount of grease or lubricant to the moving part after it has been thoroughly cleaned. If it’s metal, use lithium grease. If it’s plastic, silicone lubricant will be best.
  • Check for any loose bolts, if you find one – refer to your instructions for how tight they should be.
  • Periodically lube locks and clamps as necessary

So, you’re part of the truck club – We know life is dirt roads, rugged trips, and lots of heavy haulin’ – but don’t let your rack maintenance slip away on your OverHaul or OutPost

  • Shake test is a perfect tip for these racks. If you feel anything loose, grab your tools and tighten it up.
  • Inspect the bolts on the underside of the crossbars. Gravity is real, and always working to bring things down. Literally.
  • Check the connection point between the bedrails (or tracks) and the truck rack.
  • Keeping the rubber insert in the t-slot of the crossbars prevents buildup of dirt in the track. Check out our extra thick rubber WearStrip
  • Periodically lube locks and clamps as necessary

Cargo Boxes – whether your cargo box is on the roof like a Skybox NX, or behind your car with the EXO GearLocker, its important to follow these simple steps to protect your box, gear inside, and others on the road. 

  • If your box isn’t in use and you plan to not use it for a while, remove it and store if safely indoors.
  • After a long trip, or long use on the vehicle, clean your cargo box inside and out. Use warm soapy and water and a soft sponge, make sure to get the areas where the lid connects with the lower section. 
  • After the box is fully dry, use a silicone lubricant to keep the pivoting points fresh.
  • Spray a small amount of lubricant into the lock face, insert the key and turn it a few times.

Stay in the loop